Hey everyone,
Sorry for the delay but…
I did it, I finally did it! Now that we’ve gone on our summer trip for the year, which of course included a beach and water (and of course, shelling), I finally had the time to get to work on my home office.
My final color choice was the lighter of the two, Beach Glass by Pantone. It had a calming tone but was still very beachy. It definitely reminded me of a happy shore house. The color, because it was Pantone, had to be the highest end paint by Valspar, which included primer as well (this ran about $31 a gallon). This was great for getting the paint on smoothly and for covering the awful color and stains from the previous owners. I didn’t need multiple coats because the color was so vibrant and it was so easy to apply. It also was low-VOC, which is great for painting a small room in the summer heat.
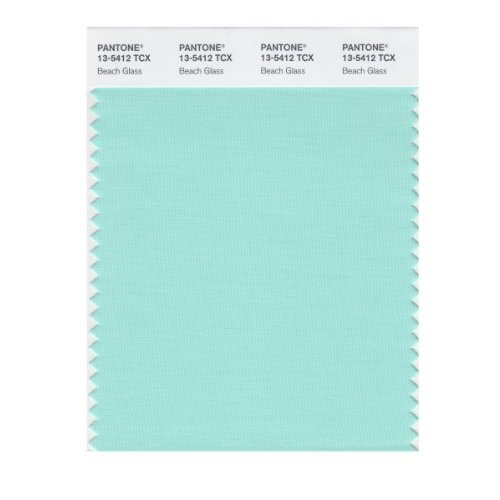
See? What a lovely swatch. The perfect, shade of NOT seafoam.
I taped, like you ALWAYS should, and ended up only needing one full day to get the paint on the walls and dried. I really didn’t need a full gallon, because I only needed one GREAT coat. I also only needed one roll of tape to get the window, doors, and ceiling/moldings. So this is was a minimal supplies needed project. Just for your information, you should always make sure when painting that you have the following (because it makes your life WAY easier):
Paint Roller
Angled Paint Brush (for corners and cutting-in)
Paint
Paint Tray with Removable Liner (makes clean up easy)
Tarp/Plastic Covering
Tape
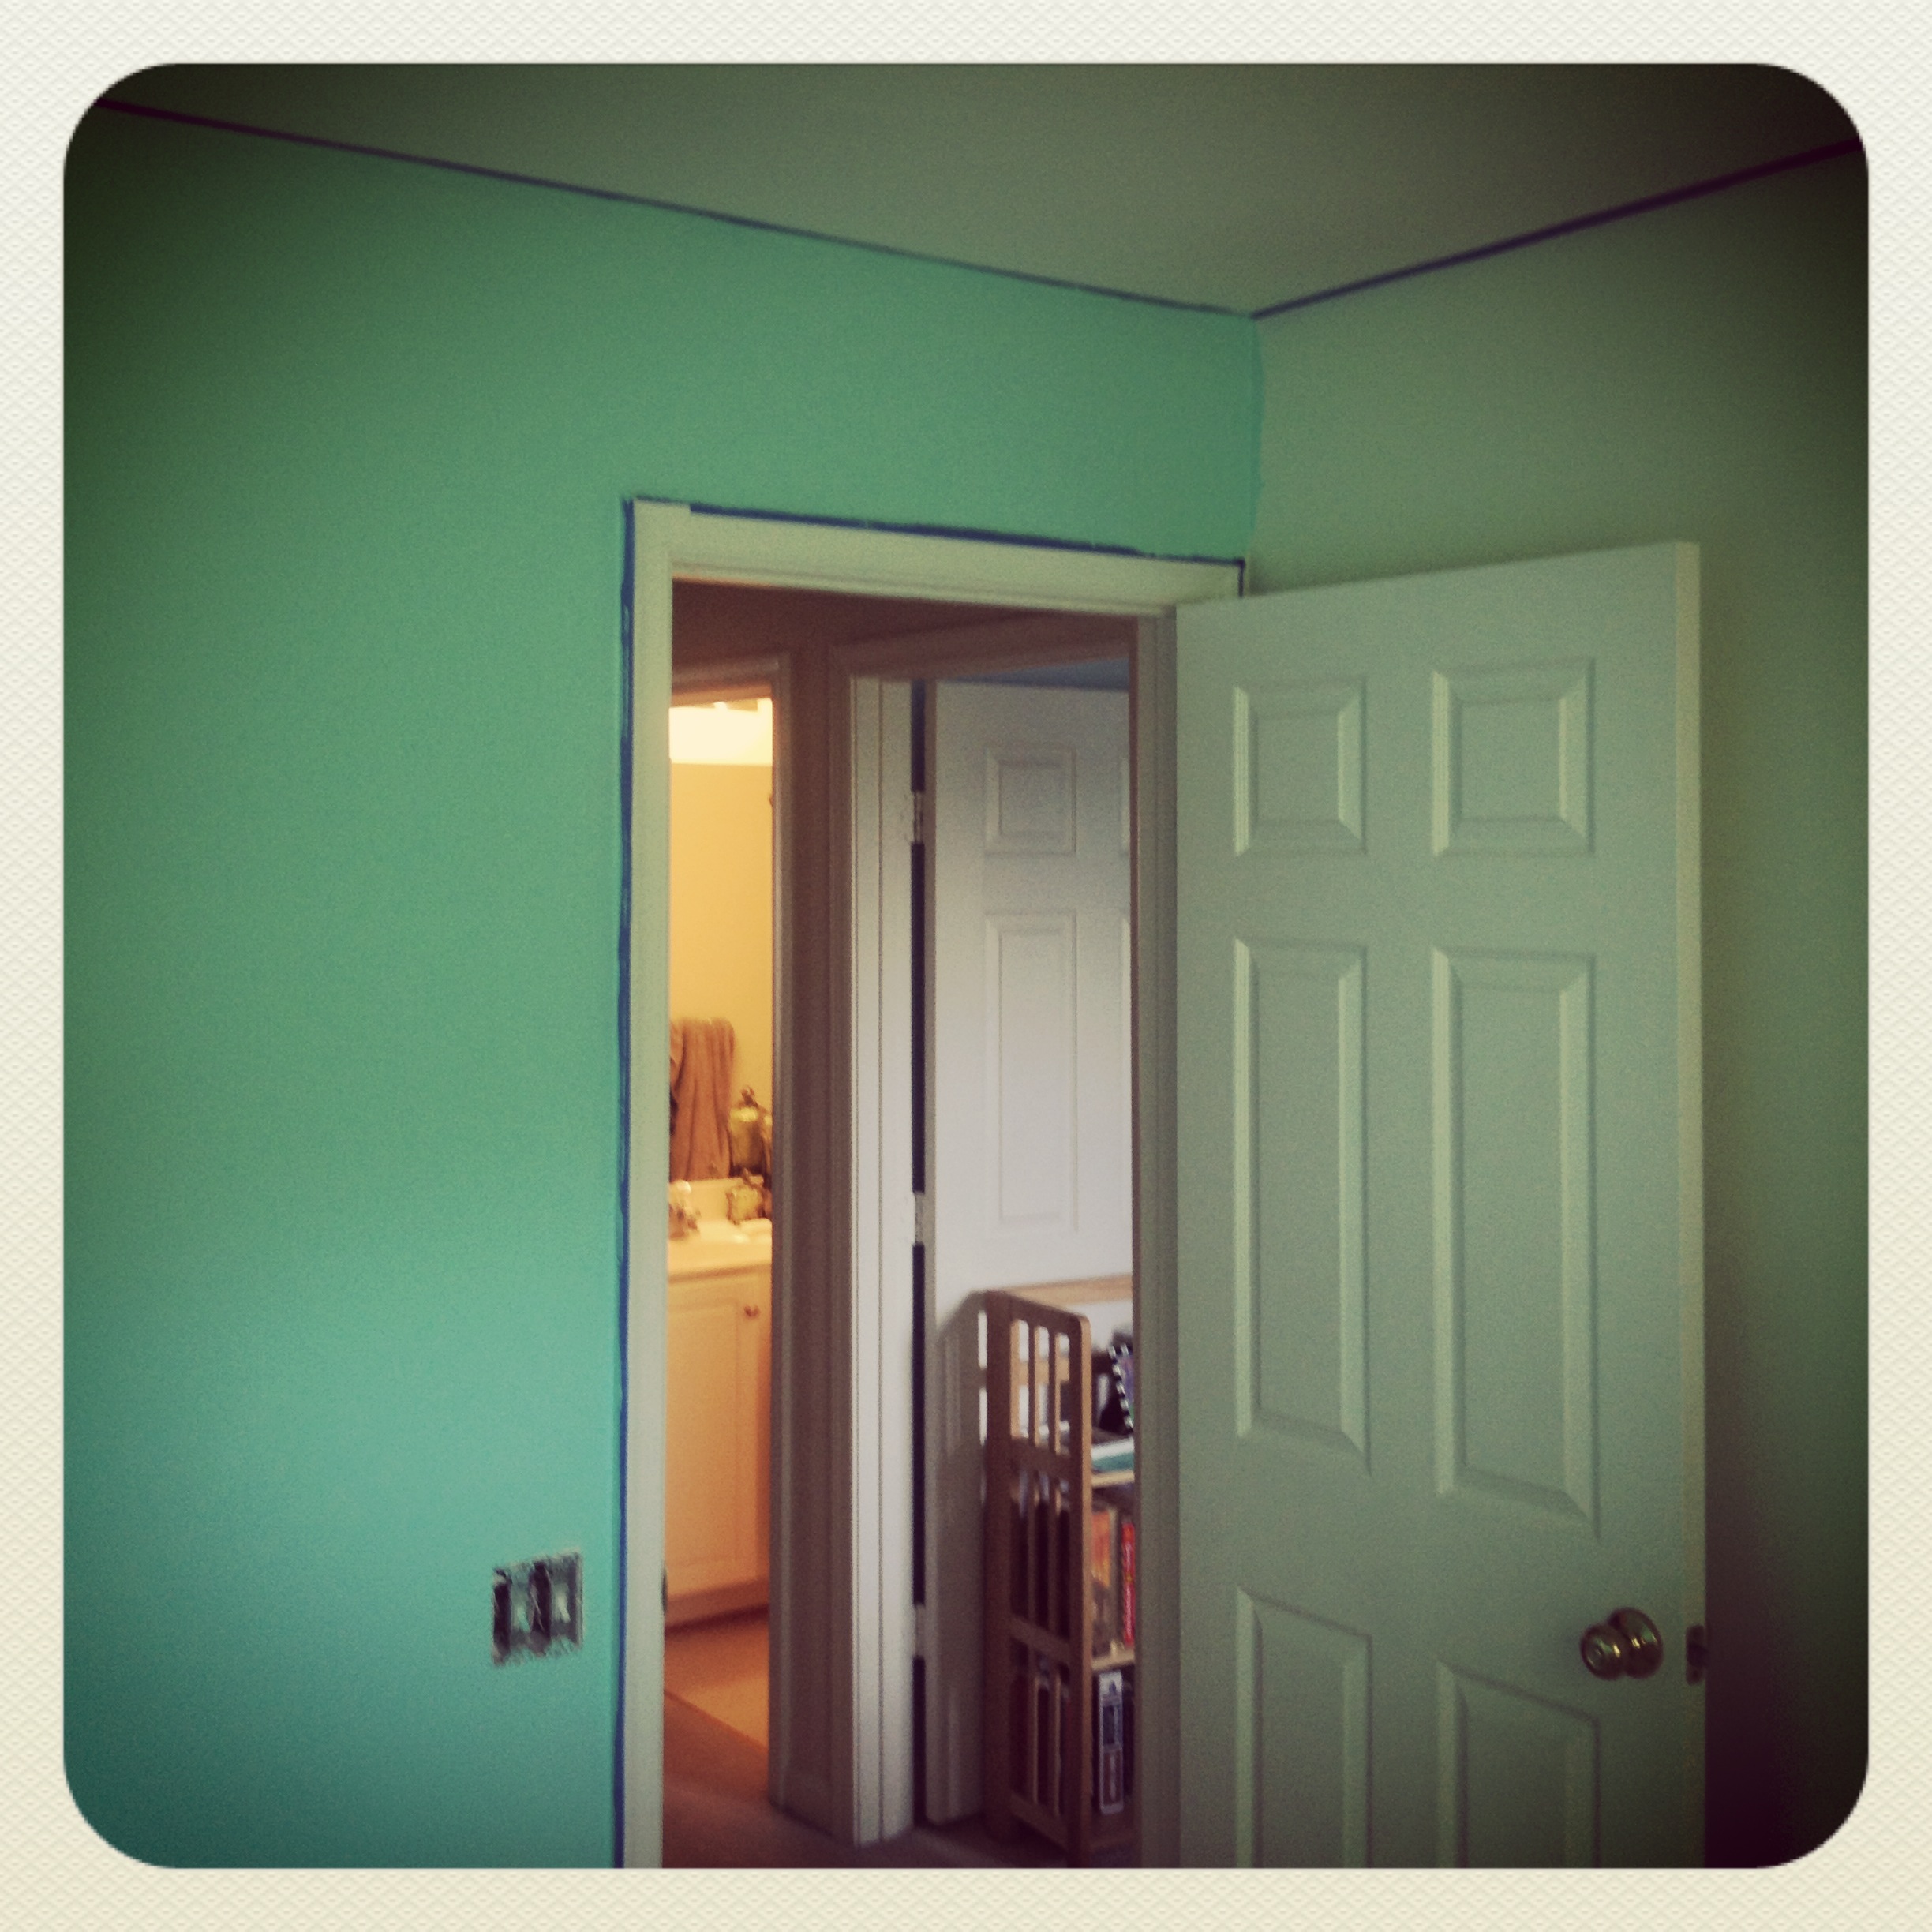
The brush, roller, tray, and liner all came in a great kit that I picked up at Lowes. Saved me a ton of time and money, and now I have these supplies for future projects! So little stress, low cost, few supplies but a definite re-do! Whether or not I’m totally satisfied with the color is yet to be determined. It required a lot of trust on my part. When I got two of the walls painted, I quickly realized just how bright the color was. It’s shockingly aqua, a lot less beachy than I expected.

See the difference? Holy moly! It almost pales the original green because it’s so bright.
Once I finally got through all the walls, it took all my patience to not start hanging my shadow boxes and framed prints right away. I was hoping that with things on the wall, furniture in the room, and drapes on the window, the color will be a bit less abrasive. This proved to be MOSTLY true and I’m just going to live with the color for awhile and decide my next steps. But here, for your enjoyment, my nicely staged home office with the new colors, hung pictures and shadowboxes, and furniture in place. Thoughts?
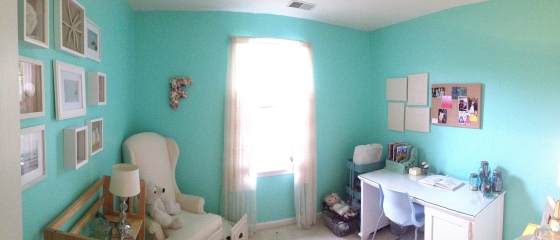
See how small this room is and how intense the color can be? This is an ALMOST 360 of the room. I’ve got space for my sewing cart (next to my desk), my high back chair, and all my shells on the floor…ignore those.
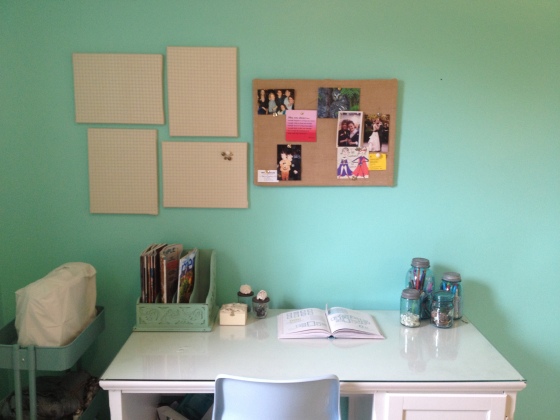
I made those matching canvas pin boards with just canvas and beige/metallic polka dotted fabric. We’ve had them since our first place and because they’re a neutral, they can always find a home somewhere. I also took my old, white spray painted cork board and covered it in burlap for a more beachy cork board. I’m using my flea market find to file my design magazines (see left of desk) and my colored mason jars for supplies that need to be right at arms length.
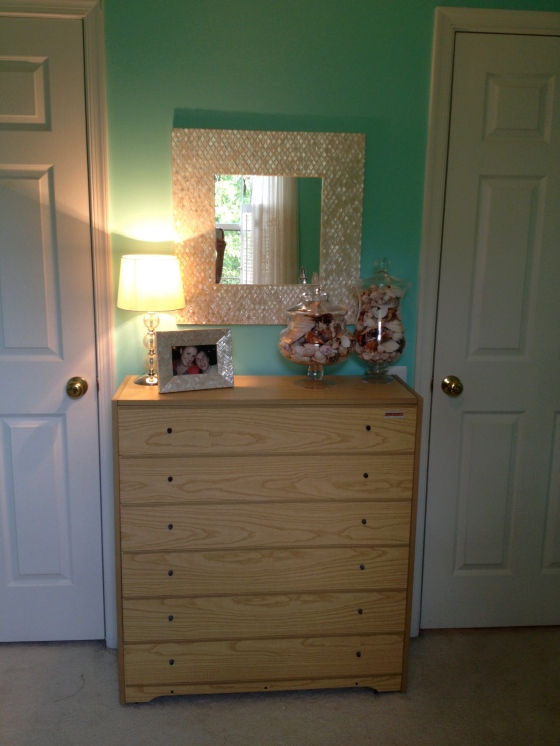
This is one of my favorite spots in the room. That piece of furniture is NOT a chest of drawers. It IS however, a mini-murphy bed. My office will always have to do double-duty and include some form of guest accommodations. The mirror was a clearance find at Homegoods, and with its capiz shell pattern is perfect for the space. It even matches our little frame and lamp. Oh, and of course, my apothecary jars filled to the brim with shells.
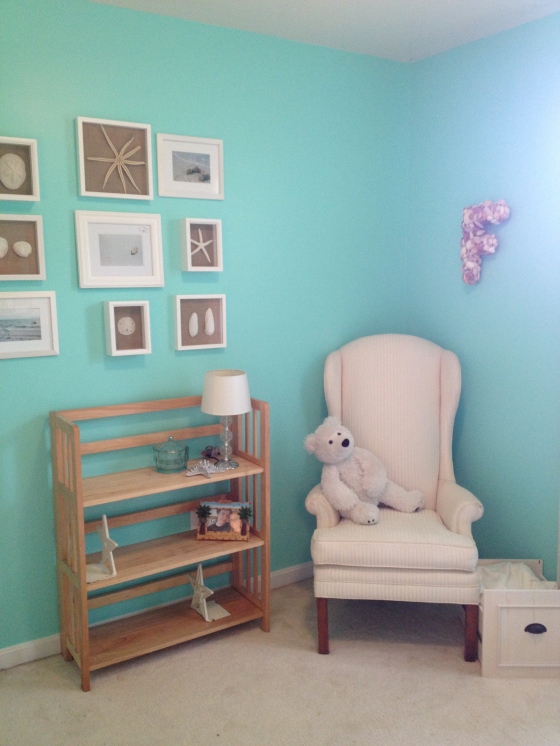
My reading corner…sans books. I finally did my last purge of college textbooks and now have plenty of space for my design books! The bear has made it ten years, and hopefully if I can keep it away from Truman, it will make it ten more! It’s sitting on the chair that I received from my grandmother earlier this year. The wall is now full with a collage of my shadow boxes and personal photography. Plus, I hung my shell covered “F” in the perfect place. It’s one of the first things you see when you walk into the room. That little box next to the chair is an unfinished project, but I promise to update you on its new life very soon!
XOXO,
Ashley