Nestled In {Colorful Nesting Tables}

Hey all,

After receiving some beautiful red chairs for my birthday (thanks Grant!), I realized that we needed a little table in between to finish off our patio space.


Where can I put down my drink? Oh...no where? Yeah that situation needed to be remedied.

Where can I put down my drink? Oh…no where? Yeah that situation needed to be remedied.


I’d been searching every time we go out bargain hunting and happened upon a cute set of three nesting tables. But man, they needed some serious help. The tables were left in the rain, to the point that the price was rinsed off the tag and there was a great deal of rust on the glass tops. The black paint was chipping or rusted in spots. I knew they would be a bit of work, but finding pretty intact, iron pieces with the glass isn’t always easy. So I picked up this trio for $30 and planned to clean them up at home.
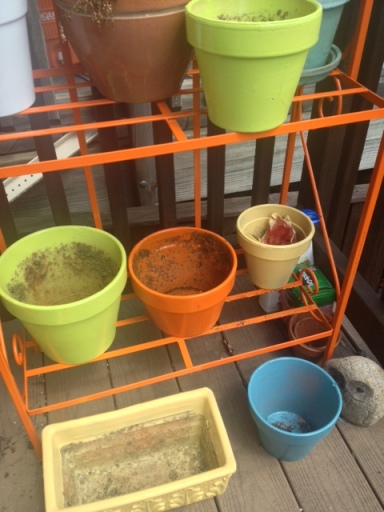
 

Remember these lovelies? Well, I had all that spray paint left over, so why not match the tables to the rest of the deck!

Remember these lovelies? Well, I had all that spray paint left over, so why not match the tables to the rest of the deck!

So after scraping down the tables and cleaning off the dirt, I sprayed away! At first I thought about getting extra paint and doing different tables in different hues of the same color. But because I had all the left over paint from the potting project, I figured I could save some moolah and just use that. Plus, I knew that it would blend in well with the rest of the things on the deck!

The glass, however, was a different story. I soaked it overnight in soapy water, rust didn’t come off. I made a paste out of Comet cleaner and left it on there, using an old toothbrush to scrub off the rust, and it didn’t budge. Then I used good old fashioned baking soda and vinegar and that seemed to help some. It wasn’t a perfect job, but the rust stains are much better than when I purchased them. So, without further ado, I give you….nesting tables!
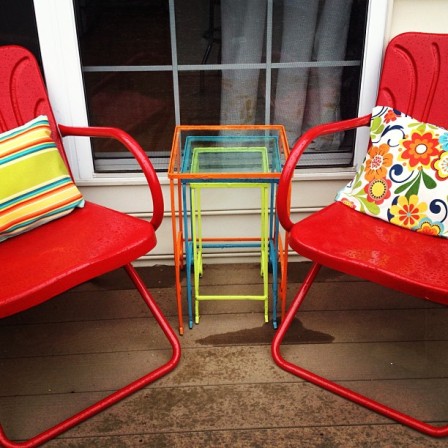
 

Super cute, happy, and just the right pop of color. I made the smallest table the brightest color so that it didn't overpower the other two. And because we really only have one piece on the deck that is the orange, I thought the tie in with the largest table would be best. And, do I really need to explain using blue on the middle table? I use blue for everything (everything that isn't already green...).

Super cute, happy, and just the right pop of color. I made the smallest table the brightest color so that it didn’t overpower the other two. And because we really only have one piece on the deck that is the orange, I thought the tie in with the largest table would be best. And, do I really need to explain using blue on the middle table? I use blue for everything (everything that isn’t already green…).


So? What do you think? With just a little elbow grease and some extra paint, these guys got a new life! I’m pretty satisfied with how they turned out. Anyone else updating their deck or outdoor spaces?

XOXO,

Ashley
Color Splash {Fun With Spray Paint}

Hey everyone!

What have I been doing lately? Well…

Shocker of the century, I’ve been up to my spray painting ways again! With all the recent upgrades and projects completed on the deck, our sad plant stand looked out of place and worn down.

988C49C7-0E73-4218-BD16-B0C3E6E0AE3A

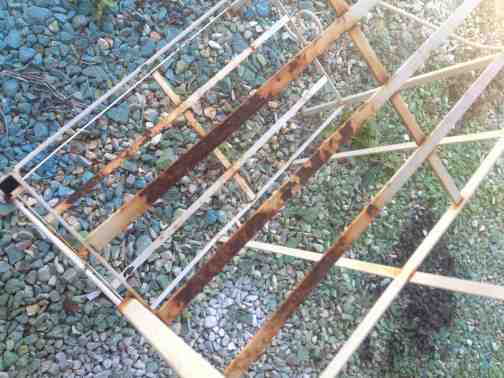
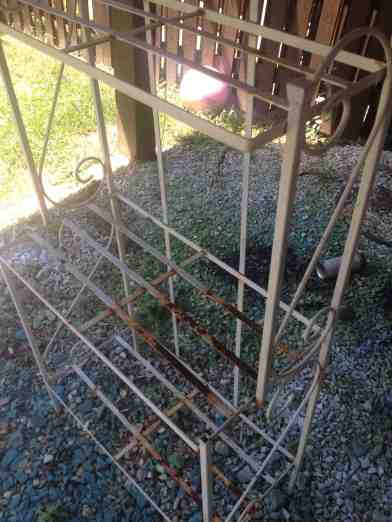
Phew! Look at that rust! I’m sorry, little thing, for letting you get so badly rusted on our porch. But now you can see why it needed a bit of a facelift.


9E596920-4213-4573-A0C6-6FD286C24601

Woof. I’m sorry plant stand, that’s just not a cute look.


Now you can see why this was a dire situation. The plant stand held all my beautiful pots for three years. I painted it white in our old place and just let it be, never touching up its paint or changing its color. This was a mistake. So now with all the new colors, she needed a little help. With some cleaning, scrubbing, and scraping, she looks so much better!

Quick tip: when painting an antique piece with rust, make sure to sand and scrape ALL the rust off before painting or priming. This will create a nice, smooth finish for your paint. It’ll also help your paint job last longer. If you paint something already peeling, your paint is bound to peel as well.

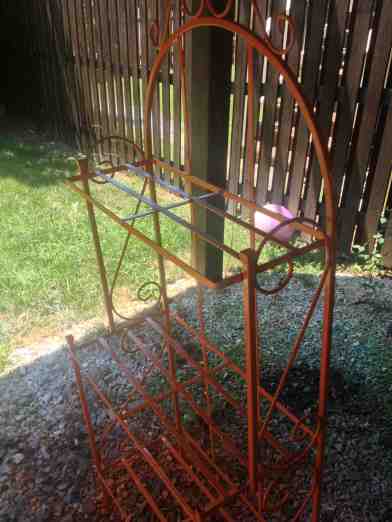
So after scraping and sanding, I got to painting. Because it was originally white and still had a pretty good coat in most places, I chose a Rust-Oleum “True Orange” can to cover the old color. See? Branching out! And man, oh, man…it sure is orange!

711A7372-5959-4177-956D-389C520E0BEF

Yowza! She is a bright plant stand now.


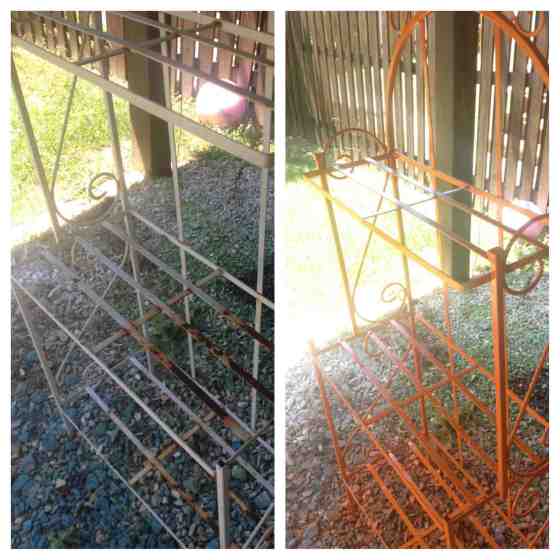
Before and after! What a change!

Before and after! What a change!

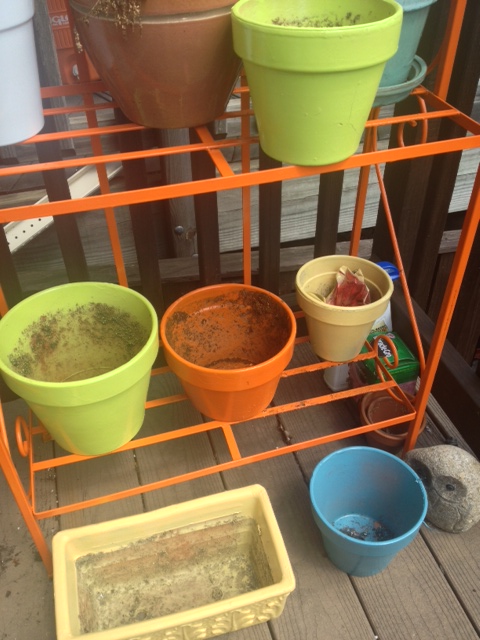
Bright? Yes. Upgrade? For sure. I’m so happy with how bright and perky it is. It goes really well with all the other colors on our porch. Plus, it forced me (FORCED I TELL YOU) to buy several more cans of spray paint and perk up some old terra cotta pots.

So many happy pots! So much to plant!

So many happy pots! So much to plant!


And I didn’t stop there…

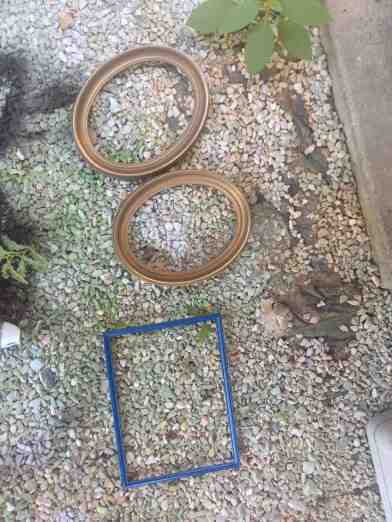
I even painted some antique frames white to add to our collage wall that extends up our stairwell!

I even painted some antique frames white to add to our collage wall that extends up our stairwell!


Once I got started, I obviously couldn’t stop. But hey, at least I got a lot of painting projects done during this beautiful weather pattern! What do you think? Orange, neon green, blue, and yellow are all very bold choices…


XOXO,

Ashley

Going Yard With Fabrics {Deck Pillows}

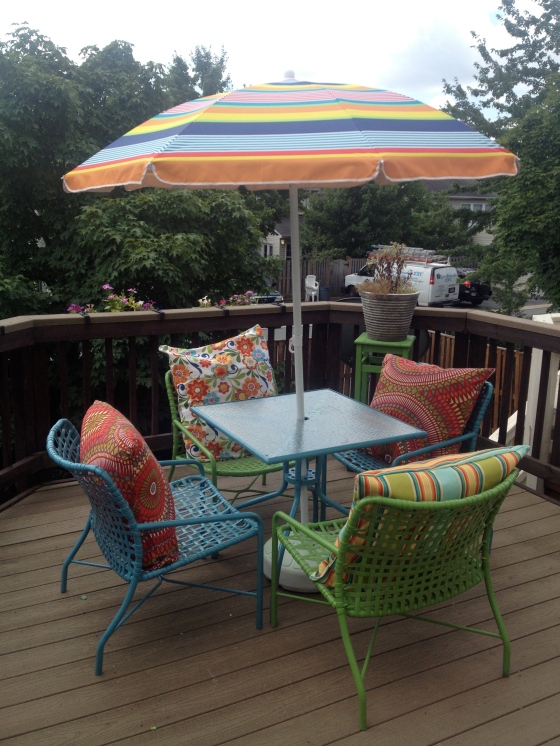
I may have gone a bit overboard with my pattern selections for the pillows on our deck. I wanted to match and enhance the color of the chairs, tables, and flowers on our deck. But my main jumping off point was our deck umbrella. Its stripes have blue, green, yellow, red, and even orange. They’re bright and perky, perfect for an outdoor living space. I feel as though you can take more risks and be a bit bolder outdoors. Plus, if you really don’t like it, or get sick of it after a season, it’s easy to change! No walls to paint!

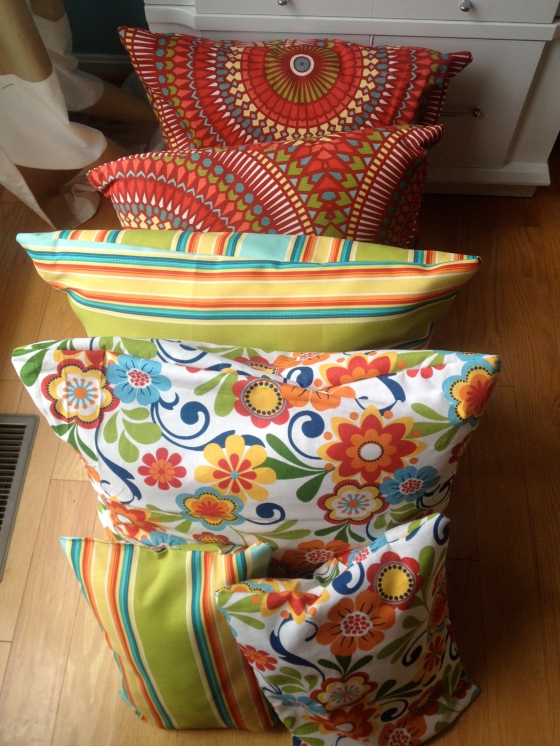
Here are all the finished pillows. I'm starting from the end of the story and then shooting to the beginning. Bear with me here...

Here are all the finished pillows. I’m starting from the end of the story and then shooting to the beginning. Bear with me here…

Anyway, so here’s how I made those lovely pillows.

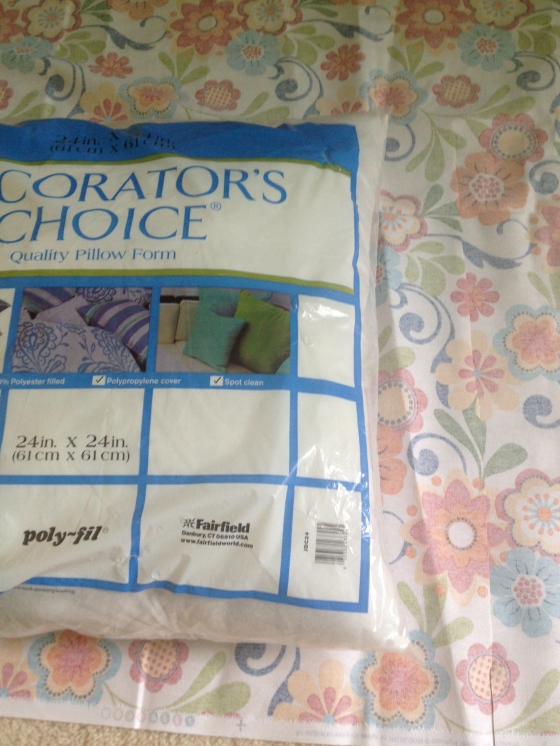
I purchased six pillow forms (with plenty of fabric and coupons to boot) from JoAnns. Make sure, when making outdoor fabric pieces, that you actually choose outdoor fabric. These fabrics are typically more durable, machine washable, and are less likely to fade in the sun as quickly as a typical cotton fabric. I originally picked two coordinating fabrics to use, but ran out of the stripe and needed extra. So I went back and purchased the floral print, which I also adore (though I think the red is probably my favorite, I’m a sucker for a geometric print).

I wanted to make sure that these pillows weren’t like the ones that I had made in the past. I actually wanted to tackle a pillow slip cover, so that if I decided to change it out, it wouldn’t be removing stuffing and starting all over again. I looked online and landed on a simple, straight forward tutorial over at vixenMade. She gives tips and suggestions for making an envelope style pillow cover which is almost exactly like what I wanted.

So here it goes, how to make a simple slip cover, with a few differences from the vixenMade tutorial.

First, measure around your pillow form. I left about an inch around each side. This is more because I'm not totally proficient at the sewing machine. Giving myself some extra room just in case my stitches aren't straight insures that the pillow covers will fit.

First, measure around your pillow form. I left about an inch around each side. This is more because I’m not totally proficient at the sewing machine. Giving myself some extra room just in case my stitches aren’t straight insures that the pillow covers will fit.


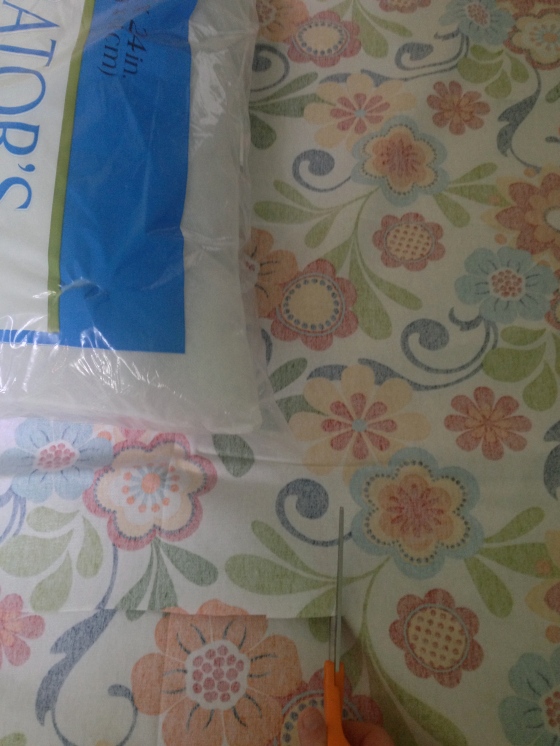
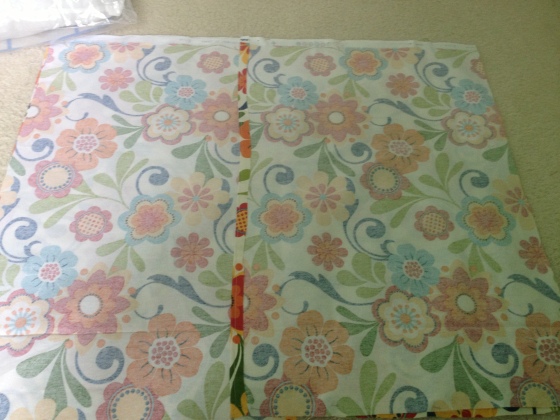
Two: cut two pieces of fabric for the front and back of the pillow cover. I cut the second piece slightly larger than the first, so that it would still be the same size after hemming the cut edges. Cut the larger piece in half. This will be the back "envelope" part of your slip cover.

Two: cut two pieces of fabric for the front and back of the pillow cover. I cut the second piece slightly larger than the first, so that it would still be the same size after hemming the cut edges. Cut the larger piece in half. This will be the back “envelope” part of your slip cover.


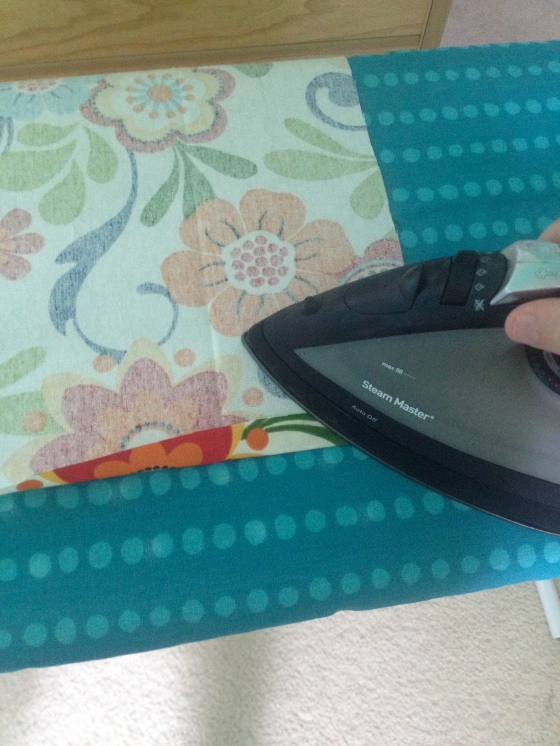
Three: iron down the sides that you will add the hem to. Then hem/serge with a stitch that you are comfortable using on your machine.

Three: iron down the sides that you will add the hem to. Then hem/serge with a stitch that you are comfortable using on your machine.


Pin these pieces to the other larger side piece. Make sure you do this inside out! I accidentally sewed an entire pillow, only to remember I didn't put the pieces inside out so half had the inner part of the fabric showing. What a pain to take out all those stitches!

Pin these pieces to the other larger side piece. Make sure you do this inside out! I accidentally sewed an entire pillow, only to remember I didn’t put the pieces inside out so half had the inner part of the fabric showing. What a pain to take out all those stitches!


And let’s not pretend that bad things didn’t happen. Because, whenever I complete a sewing project, something is BOUND to go wrong.

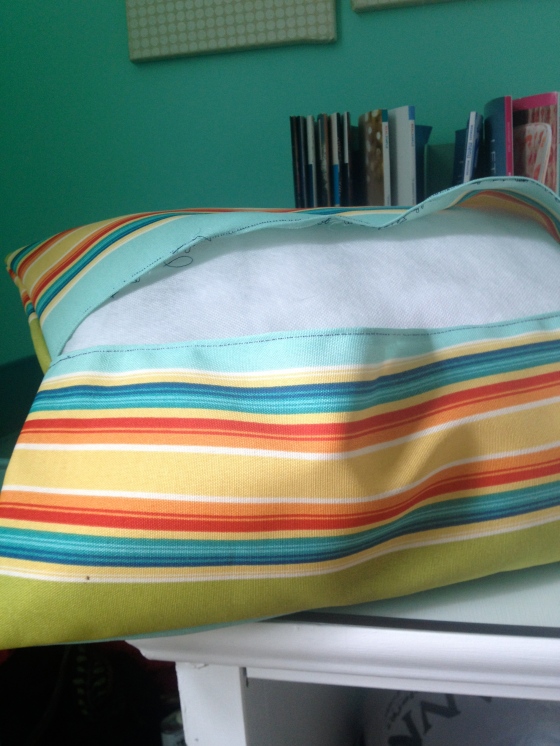
Hmm...that's not what it's supposed to look like...

Hmm…that’s not what it’s supposed to look like. I miss measured and just went for it, of course. That was a mistake. Not to mention I forgot what color thread I’ve already set in the machine, so it definitely didn’t blend with the fabric.


But after all the mistakes, sewing machine headaches, and having to get some extra fabric, I’m happy to say that this project is done!


Happy? Perky? I hope our neighbors don't mind all the color!

Happy? Perky? I hope our neighbors don’t mind all the color!

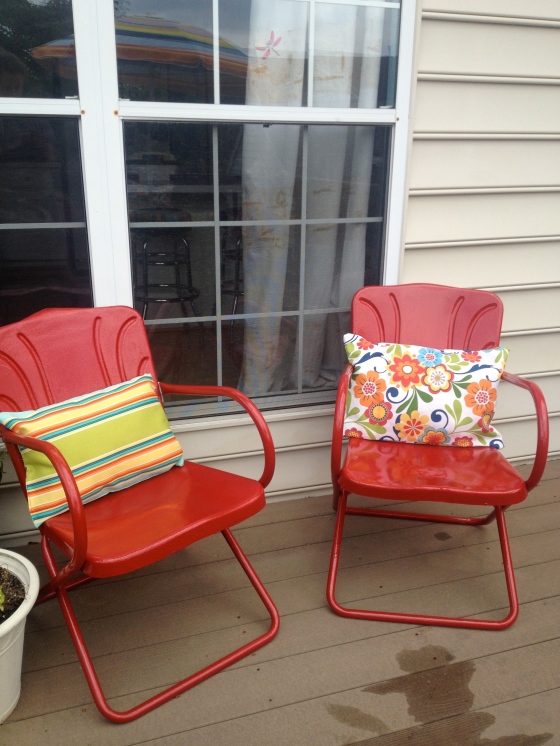
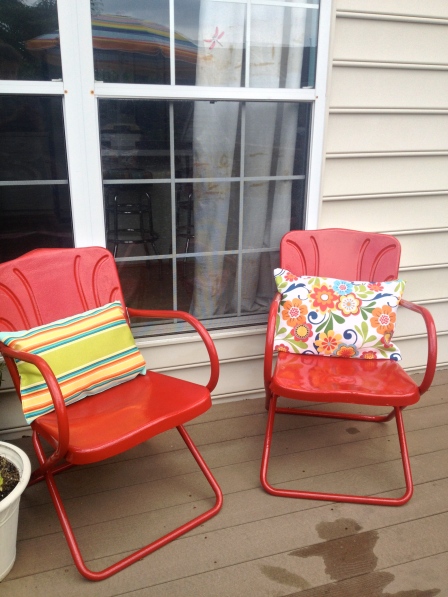
Aren't my new red chairs the cutest? The pillows work perfectly and make it look a bit more inviting. Now, if only I could find a tiny table to go in between...

Aren’t my new red chairs the cutest? The pillows work perfectly and make it look a bit more inviting. Now, if only I could find a tiny table to go in between…


Now, I know it’s a lot of color and pattern, but I think because the color family plays so well together, it doesn’t seem quite as busy. But even if it is busy, that’s all part of the fun!


XOXO,

Ashley


PS- This project was a bit more expensive than my typical projects. I spent around $50 for all the fabric and the pillow forms. Because I had so many coupons, plus a gift card, I was able to get better pillow forms and fabric that wasn’t necessarily on sale. I will say, however, that all the gloriously done pillows I found at places at HomeGoods were at least $40 for a set of four, and I needed six. Plus, I wouldn’t have been able to pick all different fabrics!

A Porch to be Proud Of {Updating our Deck Furniture}

Hey everyone,

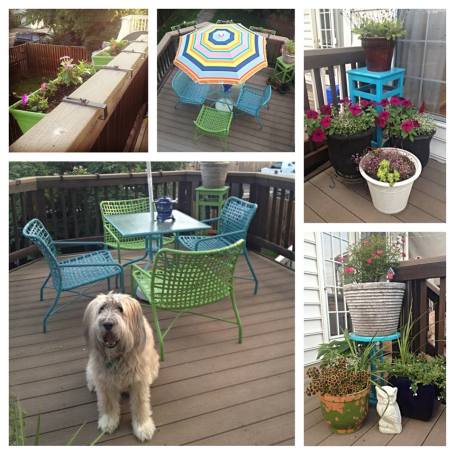
 If you remember MONTHS and MONTHS ago, we used to have all our deck furniture in a deep red. And though, I’m always partial to that color, I wanted to update the deck and give it a real face lift. Plus, the spray paint I used didn’t adhere well to the old, vinyl straps. So after two years, it was peeling pretty horribly.

So originally, I decided to paint the table and chairs in a bright blue. Scott wasn’t happy with the thought of MORE BLUE in the house, or around the house for that matter, so I decided to mix it up.

Image

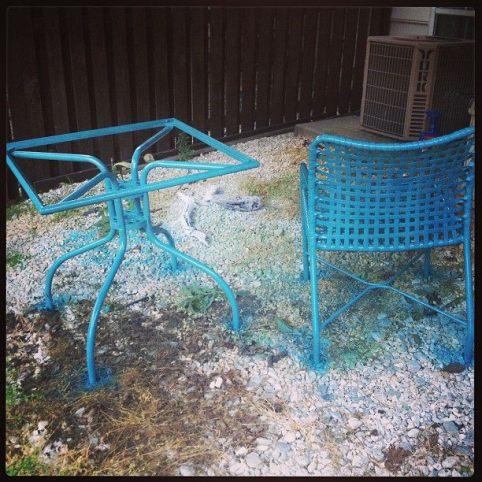
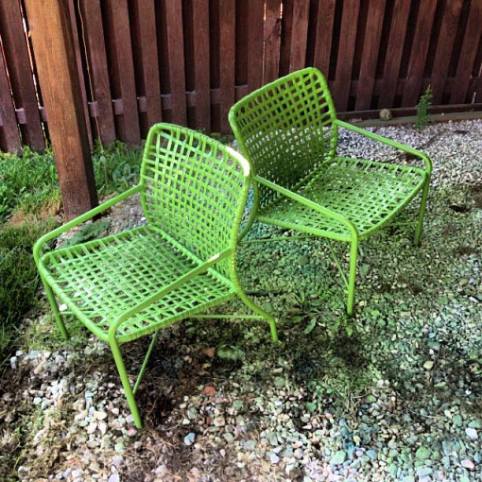
Can’t go wrong with a bright blue! Can go wrong with spray painting while the outdoor unit of your HVAC is on (sorry dude). I painted the table and two chairs blue and the other two chairs went bright green.

Image

A little blue, a little green. What perky colors to see through our kitchen window!

These colors matched the plant stands I painted a few weeks ago, which made the whole deck look like a cohesive space. Plus, my grandmother gifted us a fun and funky umbrella for the deck, which also incorporated all the colors and more! I’m still searching for an orange color to repaint our white plant stand. It needs a little perk. But with our happy new window boxes that hang off the deck and all the flowers in full summer bloom, I think our deck looks pretty good!

Image

See! Even Truman is satisfied with the changes.


XOXO,

Ashley